How to Tie Dye a Bucket Hat: Step-by-Step Guide
Looking to add a splash of color to your bucket hat? In this guide, we’ll show you how to tie dye a bucket hat and transform it into a trendy and eye-catching accessory. Tie dyeing is a fun and creative way to personalize your hat, and with our step-by-step instructions, you’ll be able to achieve stunning and unique designs. Whether you’re a tie dye enthusiast or a beginner, this article will provide you with all the information you need to create your own tie-dyed masterpiece. So grab your bucket hat, some dye, and let’s get started transforming your wardrobe with vibrant colors and patterns. Find more inspiration at Veneziabeachv.vn.

| Section | Key Takeaway |
|---|---|
| 1. Getting Started with Tie Dye | Understand the basics of tie dyeing and gather all the necessary materials. |
| 2. Choosing a Bucket Hat for Dyeing | Select a plain white or light-colored bucket hat made of suitable fabric. |
| 3. Preparing the Dye Solution | Mix the appropriate dye colors according to the instructions provided. |
| 4. Setting Up the Dyeing Area | Protect your working area and gather tools for the dyeing process. |
| 5. Applying the Dye to the Bucket Hat | Use various tie dye techniques to create patterns and designs on the hat. |
| 6. Letting the Dye Set | Allow the dyed hat to sit for a specific duration to let the colors set properly. |
| 7. Rinsing and Washing the Tie-Dyed Bucket Hat | Rinse off excess dye and wash the hat to remove any remaining color residue. |
| 8. Drying and Styling Your Tie-Dyed Bucket Hat | Dry the hat and style it according to your preferences to complete the tie-dye process. |
I. Choosing the Right Bucket Hat
When tie dyeing a bucket hat, it’s essential to choose the right hat for optimal results. Consider the following factors when selecting your bucket hat:
Fabric Selection
The fabric of your bucket hat plays a crucial role in how well it absorbs the dye and retains vibrant colors. Opt for hats made of natural fibers such as cotton or linen. These materials tend to absorb dye more effectively than synthetic fabrics.
Color Palette
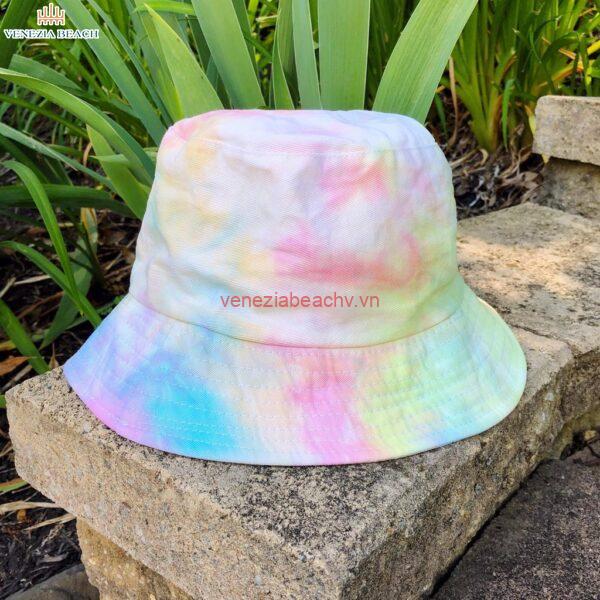
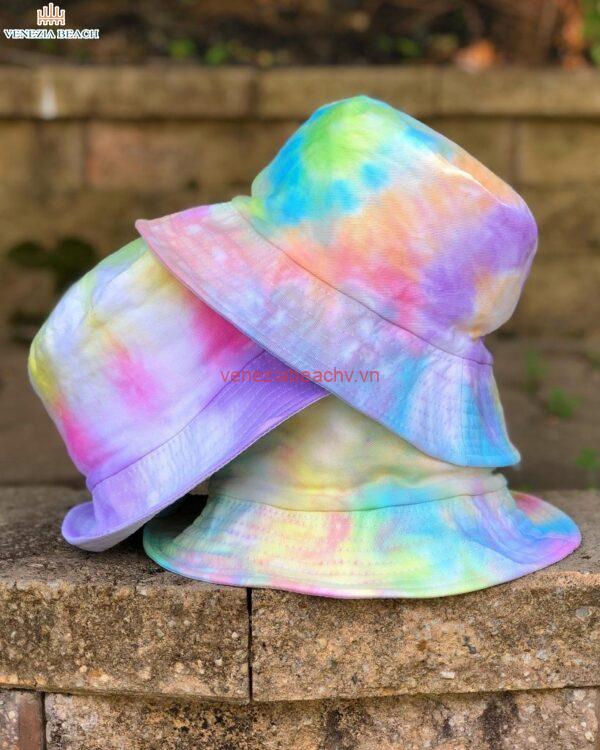
Think about the color palette you want for your tie-dyed bucket hat. If you prefer bright and bold colors, select a plain white hat that will provide a blank canvas for your vibrant dyes. On the other hand, if you’re aiming for a softer and more pastel look, choose a light-colored hat that complements your desired color scheme.
Size and Fit
Ensure that the bucket hat you choose fits comfortably on your head. A hat that is too tight or loose may affect the tie dyeing process. Consider trying on different sizes to find the one that fits snugly without being overly tight.
Quality and Durability
Opt for a high-quality bucket hat that will withstand the tie dyeing process and frequent use. Look for hats with sturdy stitching and durable materials that can handle the dye and washing without losing their shape or color.
| Related Posts |
|---|
| How to Catch a Predator Shirt |
| How to Add Words to E-Sword Dictionary |
Maintenance Requirements
Consider the care instructions of the bucket hat. Some hats may require specific washing or maintenance methods that could impact the longevity of the tie dye. Choose a hat that aligns with your willingness and ability to follow the recommended care guidelines.
Personal Style
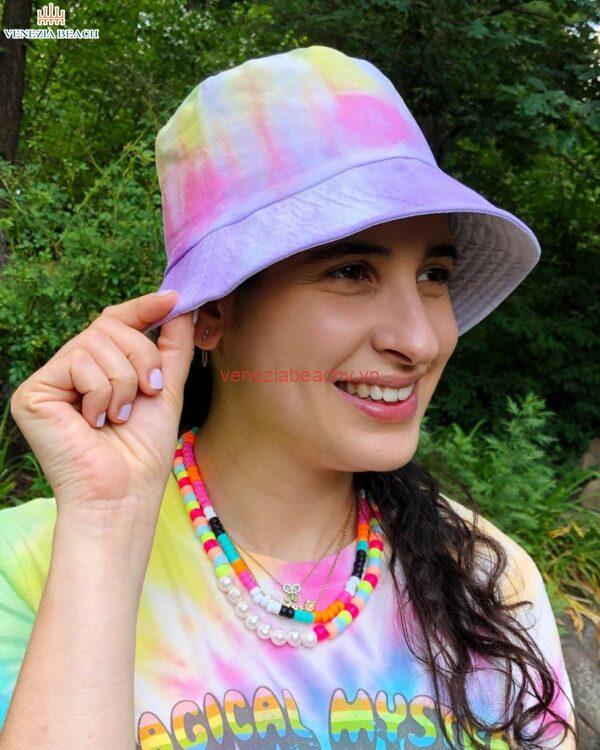
Lastly, consider your personal style and the intended purpose of the tie-dyed bucket hat. Think about how the design and colors will complement your wardrobe and overall aesthetic. Select a hat that resonates with your unique taste and fashion preferences.
| Related Posts |
|---|
| How to Build a Scalping Strategy Using Adaptrade |
| How to Get Free Credits on SmartJailMail |
By considering these factors, you can make an informed decision when choosing the right bucket hat for your tie-dye project. Finding the perfect hat will set the foundation for creating a stunning and personalized accessory.

II. Preparing the Dye and Materials
Before you can start tie dyeing your bucket hat, you’ll need to gather all the necessary materials and prepare the dye solution. Here are the steps to get everything ready:
Gather the Materials
First, ensure you have all the supplies needed for the tie dyeing process. You will need a plain white or light-colored bucket hat made of suitable fabric, such as cotton or a cotton blend. Additionally, gather the following materials:
- Procion fiber reactive dye in your chosen colors
- Soda ash (sodium carbonate) to pre-soak the hat
- Plastic squeeze bottles for dye application
- Plastic gloves to protect your hands
- Plastic or plastic-covered tablecloth to protect your work surface
- Plastic wrap or plastic bags to cover the dyed hat while it sets
Having all the materials on hand will make the dyeing process smoother and more enjoyable.
Mix the Dye Solution
The next step is to prepare the dye solution. Procion fiber reactive dye requires a chemical reaction with soda ash to bond with the fabric. Mix the dye according to the instructions provided with the dye package. The amount of dye and soda ash needed will depend on the quantity of water specified in the instructions.
Follow the instructions carefully to achieve vibrant and long-lasting colors. Ensure you mix the dye solution in well-ventilated surroundings and wear gloves to protect your skin from staining.
Pre-Soak the Hat
Before dyeing the hat, it is recommended to pre-soak it in a soda ash solution. This will enhance the dye absorption and help the colors to set better. Fill a bucket or sink with warm water and dissolve soda ash according to the package instructions. Submerge the hat in the solution and allow it to soak for the specified duration, usually around 20-30 minutes.
After pre-soaking, gently squeeze out any excess water from the hat without wringing it. The hat is now ready for the dyeing process.

III. Tie Dying Your Bucket Hat
When it comes to tie dying your bucket hat, the possibilities are endless. You can create bold and vibrant designs or opt for a more subtle and pastel look. One popular technique is the spiral pattern, where you twist the hat into a spiral shape and secure it with rubber bands before applying the dye. This creates a stunning swirl effect that is sure to turn heads.
Another popular method is the crumple technique, which involves scrunching up sections of the hat and securing them with rubber bands. This creates unique patterns with a more relaxed and organic feel. You can experiment with different colors, or even try adding multiple colors to create an eye-catching ombré effect.
| Tie Dying Your Bucket Hat: Tips and Techniques | |
|---|---|
| 1. Use high-quality fabric dyes. | Choose dyes specifically designed for fabric to ensure vibrant, long-lasting results. |
| 2. Consider color combinations. | Experiment with contrasting or complementary colors for striking effects. |
| 3. Protect your work surface. | Cover your workspace with plastic or old newspapers to prevent staining. |
Selecting Colors
How to Catch a Predator Shirt: Discover how you can support efforts against child predators by wearing awareness shirts made from tie dye techniques!
Mixing Dye Colors
How to Add Words to E-Sword Dictionary: Expand your vocabulary in e-sword by seamlessly incorporating new words to your digital library.
Before you dive into the tie dyeing process, it’s important to choose the right colors for your bucket hat. Consider the overall look you’re going for and think about how different colors will complement each other. Don’t be afraid to mix and match! You can go for a monochromatic color scheme or combine contrasting shades for a bold and vibrant design.
Preparing Your Hat
How to Build a Scalping Strategy Using Adaptrade: Learn how you can optimize your trading strategy with Adaptrade’s algorithmic trading platform.
How to Get Free Credits on SmartJailMail: Discover how you can earn free credits on SmartJailMail, allowing you to stay connected with incarcerated loved ones without breaking the bank.
To ensure that your tie dye design turns out well, make sure your bucket hat is clean and damp before applying any dyes. This will help the colors spread more easily and create more vibrant patterns. You can either wash it beforehand or simply dampen it using water. Additionally, consider using natural fabrics like cotton or linen as they tend to absorb dyes better than synthetic materials.

IV. Conclusion
Tie dyeing a bucket hat is a fun and creative way to add a personalized touch to your accessories. By following the step-by-step guide outlined in this article, you can achieve stunning tie-dye designs that reflect your unique style. Remember to gather all the necessary materials, choose the right hat, and prepare the dye solution properly. Setting up a designated dyeing area will keep your workspace clean and organized.
When applying the dye to the bucket hat, experiment with different techniques such as folding, twisting, or scrunching to create various patterns and designs. Allowing enough time for the dye to set before rinsing off any excess color is crucial for vibrant results.
Once you’ve completed the tie-dye process, make sure to rinse and wash your bucket hat thoroughly before drying it. This will remove any remaining color residue and ensure durability. Finally, let your creativity shine by styling your unique tie-dyed bucket hat according to your preferences.
With these tips in mind, you’ll be able to create stunning tie-dye bucket hats that are perfect for expressing yourself or giving as thoughtful gifts. Get started on this exciting craft project today!